
Contents
Introduction
Two pieces of software may be used to create the tool paths, or GCode, for multicolour printing; Slic3r and Cura. Slic3r is recommended in all cases for mono prints and generally it produces better quality mono prints as more time has been spent on tuning. Cura typically produces cleaner multicolour prints as it is capable of building a purge tower to wipe the nozzle. Cura typically prints much faster too thanks to clever handling of tool changes.
If you are new to multicolour it is recommended that you start with Slic3r as you will already be familiar with it in mono prints, and progress to the extra benefits of Cura if required.
Installing Slic3r
You should have Slic3r already installed from commissioning your printer as a Mono printer. You will need to download our printing profiles. Even if you’ve installed them previously (prior to the multicolour upgrades being released), you need to do this again to reflect changes in the profiles for handling multicolour. Download the appropriate profile for your machine from our profiles repository.
Firstly, you will need a copy of Slic3r, V1.17 or newer. If you have installed Slic3r before, you will also need to delete all local profiles. To do this navigate to /%appdata%/Slic3r on Windows, or “./Slicer” in your home folder on Mac/Linux and delete all subfolders.
To run Slic3r, simply open the application from your applications folder.
Installing your profile
On the first run of Slic3r, you will be presented with the Slic3r configuration wizard:
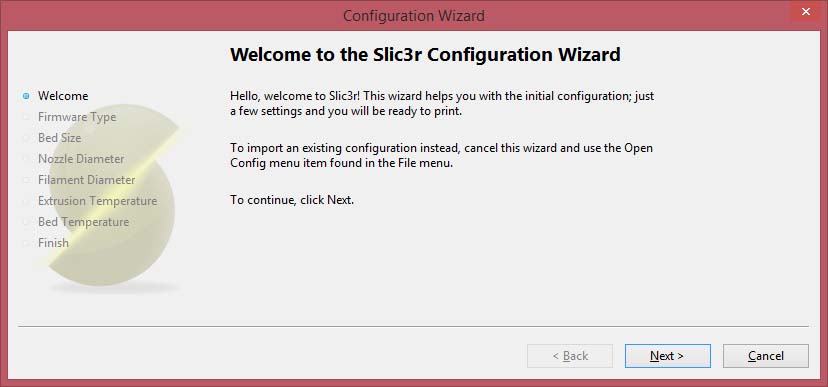
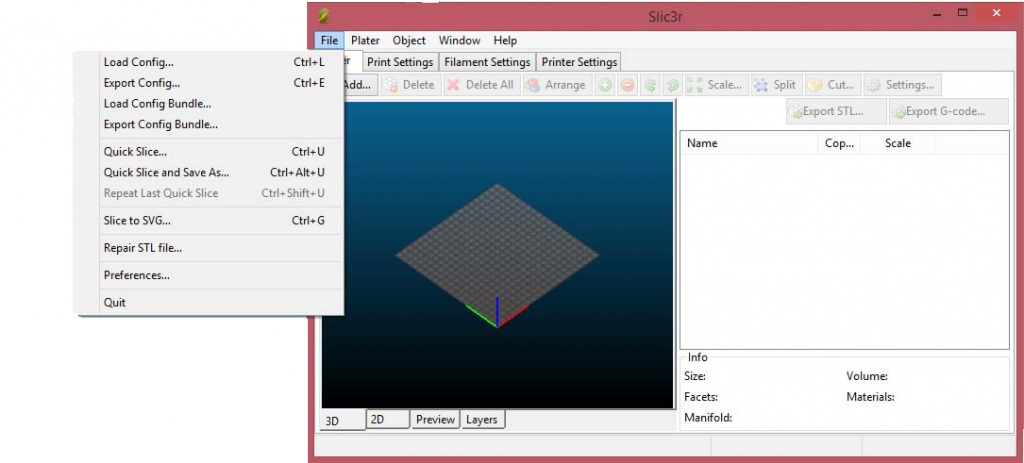
Before Slicing, you first need to install the appropriate profiles. Cancel out of the wizard, and click the load config bundle option from the file menu. Then navigate to and load the config bundle for your machine that you have already downloaded. You will needed to restart Slic3r after this step to complete the installation of the print settings.
Selecting your profile
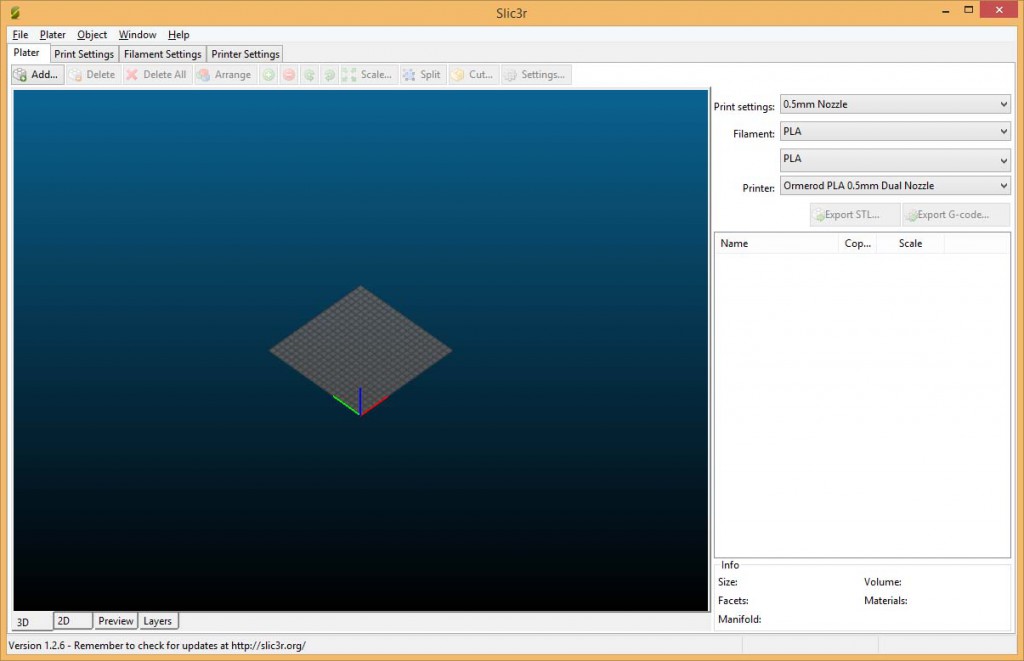
These are chosen from the drop down boxed on the main window of Slic3r.
First select the printer profile from the right hand side of the window. For a Dual colour Ormerod select “Ormerod PLA 0.5mm Dual Nozzle”. This corresponds to an Ormerod with a 0.5mm nozzle.
This will then produce more drop down boxes for the filament settings, one corresponding to each extruder. It is important that the material and nozzle size in the Print settings and filament fields match the settings in the Printer drop down. e.g. PLA, 0.5mm nozzle etc.
Plating
When printing multimaterial/colour files you need to ensure that the STL files produced share the same coordinates and origin, such that Slic3r knows their relative positions. In most CAD packages, this is simple. Just create an assembly of parts, and export the assembly as an STL. Alternatively many multicolour parts are available from on-line repositories such as Thingiverse or Youmagine.
To plate a multicolour file, add the STL used by the first hot end to the plate.Click add from the top left corner of the window.

Once the STL is loaded, click on the file and then settings. A new window appears:

Select the STL you’ve just loaded from the list, then from the drop down select the extruder you wish to use to print this STL. Then, without exiting this settings screen you may load a new part.Choose the desired STL and again assigned an extruder.
Slicing
To slice your files, simply choose export GCode, and print as usual.