First Print
The microSD image contains a sample print: Robot.g which makes for a fun first print. Here is a suggested workflow from powering on the Fisher 3D printer.
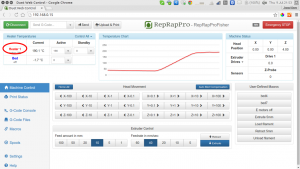
Click on heater 1 to heat up the nozzle (or send ‘T0‘). The hot end active temperature is set to 200C in the config.g with the line:
G10 P0 S200 R0 ; Set tool 0 operating and standby temperatures
You can also set the temperature manually by entering the appropriate value. If you want to turn off the hot end, click on heater 1 again to set it to ‘standby’ (or send ‘T99‘). |
 |
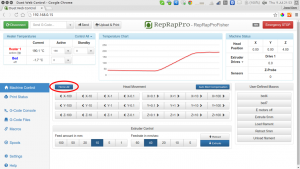
Click on Home All (or send ‘G28‘). |
 |
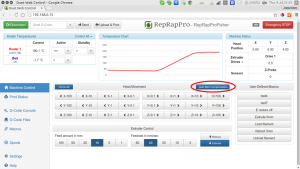
Click on Auto Bed Compensation (or send ‘G32‘). |
 |
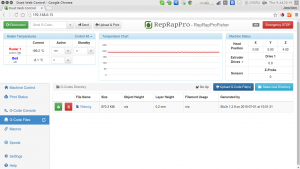
| Navigate to the G-Code Files tab and click on Robot.g to print it. If you’re connecting to your printer via USB, and using Pronterface, select SD > SD print and select ‘robot.g’. |
 |
Preparing your own files for printing
Having celebrated your success and shown all of your friends and family, you will need one more piece of software to enable you to prepare 3D models for printing. Please follow the instructions given here.


