Contents
Power on checks
First connection
| Download the microSD card image, extract and copy to the microSD card, then push it into the socket in the Duet. As the Duet is upside down in the machine, the microSD card should be inserted with the contacts face up, until it clicks. | Fisher_1_171015 |
| The folder structure on your microSd card should look like the screenshot. | 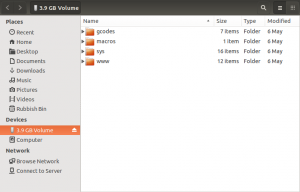 |
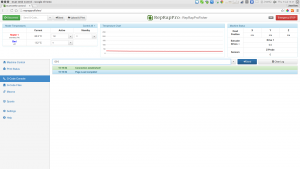
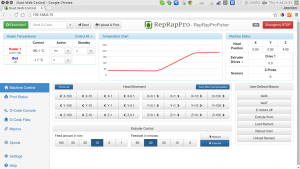
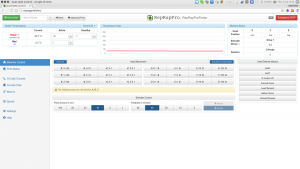
| Connect ethernet and power to the machine. Open a web browser and navigate to: http://reprapprofisher The web interface will automatically connect if the machine is found. If this is not the case, please see the troubleshooting guide. |
 |
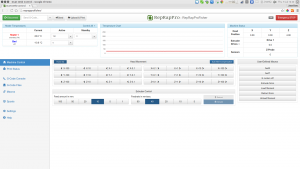
| Navigate to the Settings tab and verify the firmware version, which currently should be 1.09c-dc42 (2015-06-25). If you have 1.09, update your firmware using RepRapFirmware-1.09c-dc42 Change the extension to .bin, then flash as per the instructions here. | 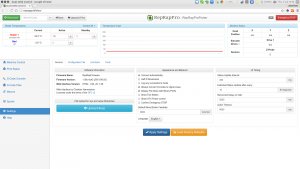 |
| By default, the Duet is set up to get it’s IP address by DHCP (ip address is set to 0.0.0.0 in config.g, to enable this). You can set up the Duet on you network a number of other ways; see here. If you are having problems connecting via Ethernet, see the troubleshooting section here. | |
| If you cannot connect by ethernet, you can run your Fisher from the USB port. Follow the instructions from the general Duet commissioning, which will guide you through setting up communication and connecting. These instructions are for our other, non-Delta printers (Huxley Duo, Mendel 3 and Ormerod), so once connected in ‘Pronterface’, come back and follow the instructions in the following sections. Continue to use the SD Image for Fisher, from the first step above; do not use one of the other SD Images listed in the commissioning instructions, they will not run the Fisher correctly. |
Axis motion
End stops
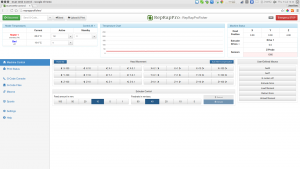
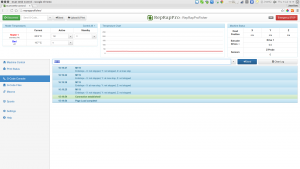
Now confirm the machine registers triggering of the endstops. Navigate to the console tab, then send a command to check the status of the endstops (see picture):M119The response should be: Endstops - X: not stopped, Y: not stopped, Z: not stoppedTrigger the X endstop (the one nearest the first motor which moved in the previous test) by holding down the lever with a finger, and send the command again. The response should be: Endstops - X: at max stop, Y: not stopped, Z: not stoppedRepeat this procedure for the other two endstops, and check that their state changes. |
 |
| If the response is not correct, check your wiring. Check that the endstop wires are connected to the outer two pins of each microswitch, and not the central pin. Check that the correct endstop is connected to the correct place on the Duet (see the wiring diagram). | |
| You can also check the endstops are working visually, by checking the LED lights on the Duet. Lay the Fisher on it’s side, or turn it over completely. You should see the Duet, and 5 LED lights should be lit; the USB LED (this shows the Duet is getting 5V), and the four endstop switches (see the wiring diagram HERE for their location). If any are not lit, check the wiring connections. Press each endstop in turn, and check that the corresponding light goes out on the Duet. Also check the bed probe is functioning, by pressing down on the bed. |
Homing
Bed probing
Extruder drive
Hot end
Prepare for printing
Your RepRap Fisher 3D printer is now almost ready for its first print. Check the following before proceeding…
| Filament spool is loaded. Threaded balls are locked and lubricated. Belts are equally tensioned. Top panel is fitted. Bed is in place. | 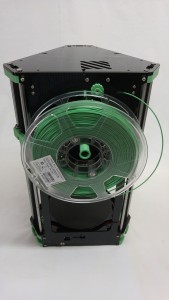 |

