Bed assembly
You will need the following parts:
| # |
Component |
Qty |
Type |
| 1204 |
Bed |
1 |
Lasercut |
| 429 |
M3x8mm countersunk screw |
3 |
Fastener |
| 1191 |
Threaded ball |
3 |
Hardware |
| 1262 |
Print pad |
1 |
Hardware |
|
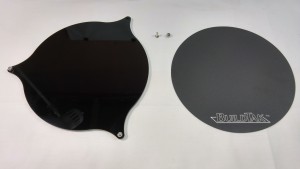 |
| Attach each threaded ball to the bed using a countersunk screw. The balls should be on the side with a sharper edge.Stick the print surface onto the bed. Start at the edge and work across to the opposite side ensuring no air bubbles form beneath the surface. |
 |
Fitting the bed
You will need the following parts:
| # |
Component |
Qty |
Type |
|
Bed |
1 |
Assembled |
| 1251 |
Bed spring |
3 |
Hardware |
|
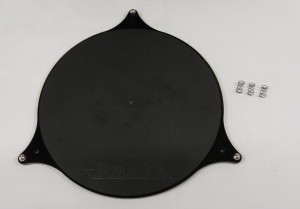 |
| Place a spring into each hole near the bed mounting brackets. |
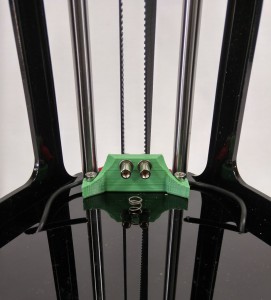 |
| Drop the bed onto the springs. |
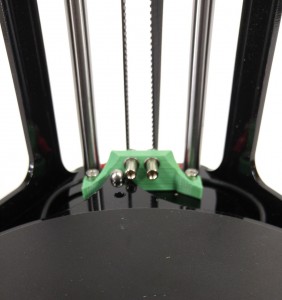 |
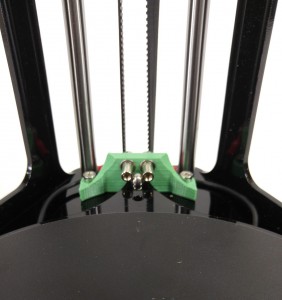
| Push the bed down and rotate, then release it allowing the springs to lift it into the spacers. |
 |


