DRAFT – these instructions are not final, and are likely to change.

Connecting rod joints

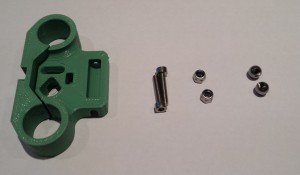
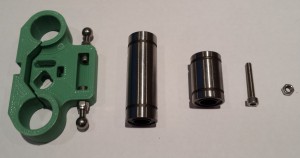
You will need the following parts:

# Component Qty Type
1240 Carriage 1 Printed
242 M3x16mm cap head screw 2 Fastener
204 M3 Nyloc nut 2 Fastener
1191 6mm threaded ball 2 Hardware
carriage-components
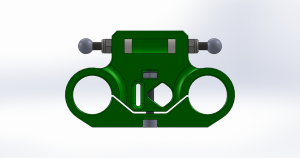
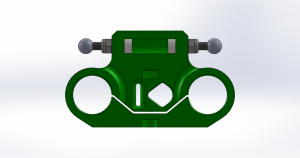
Lock each M3 cap head screw in place with a Nyloc nut, then fit the threaded balls.Before continued use, the balls should be locked onto the threads with an effective thread locking compound (such as Loctite, or we find superglue works very well although one has to be screwing the ball on). If you prefer to leave this until the machine is built, (in case you need to go back and fix build errors), then leave until after the commissioning stage (which includes a reminder). carriage-joints-fitted

Linear bearings

You will need the following parts:

# Component Qty Type
Carriage 1 Assembled
241 M3x20mm cap head screw 1 Fastener
258 M3 nut 1 Fastener
1182 Long series 8mm diameter linear bearing 1 Hardware
287 8mm diameter linear bearing 1 Hardware
carriage-linear-bearings
Push the nut into the centre recess, then fit the cap head screw, leaving it loose. carriage-locking-screw
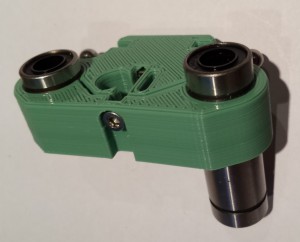
Slide each linear bearing into the printed carriage. The Long series bearing must be fitted on the same side as the narrow slot (near the centre of the printed carriage). carriage-assembly
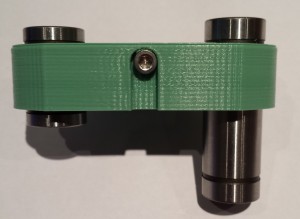
Lock the linear bearings in place by tightening the cap head screw. The bearings should protrude above the carriage such that the slot is just showing. carriage-bearing-positions

Repeat

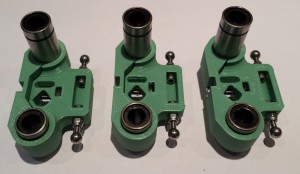
Repeat the above steps until you have three assemblies. carriage-assemblies